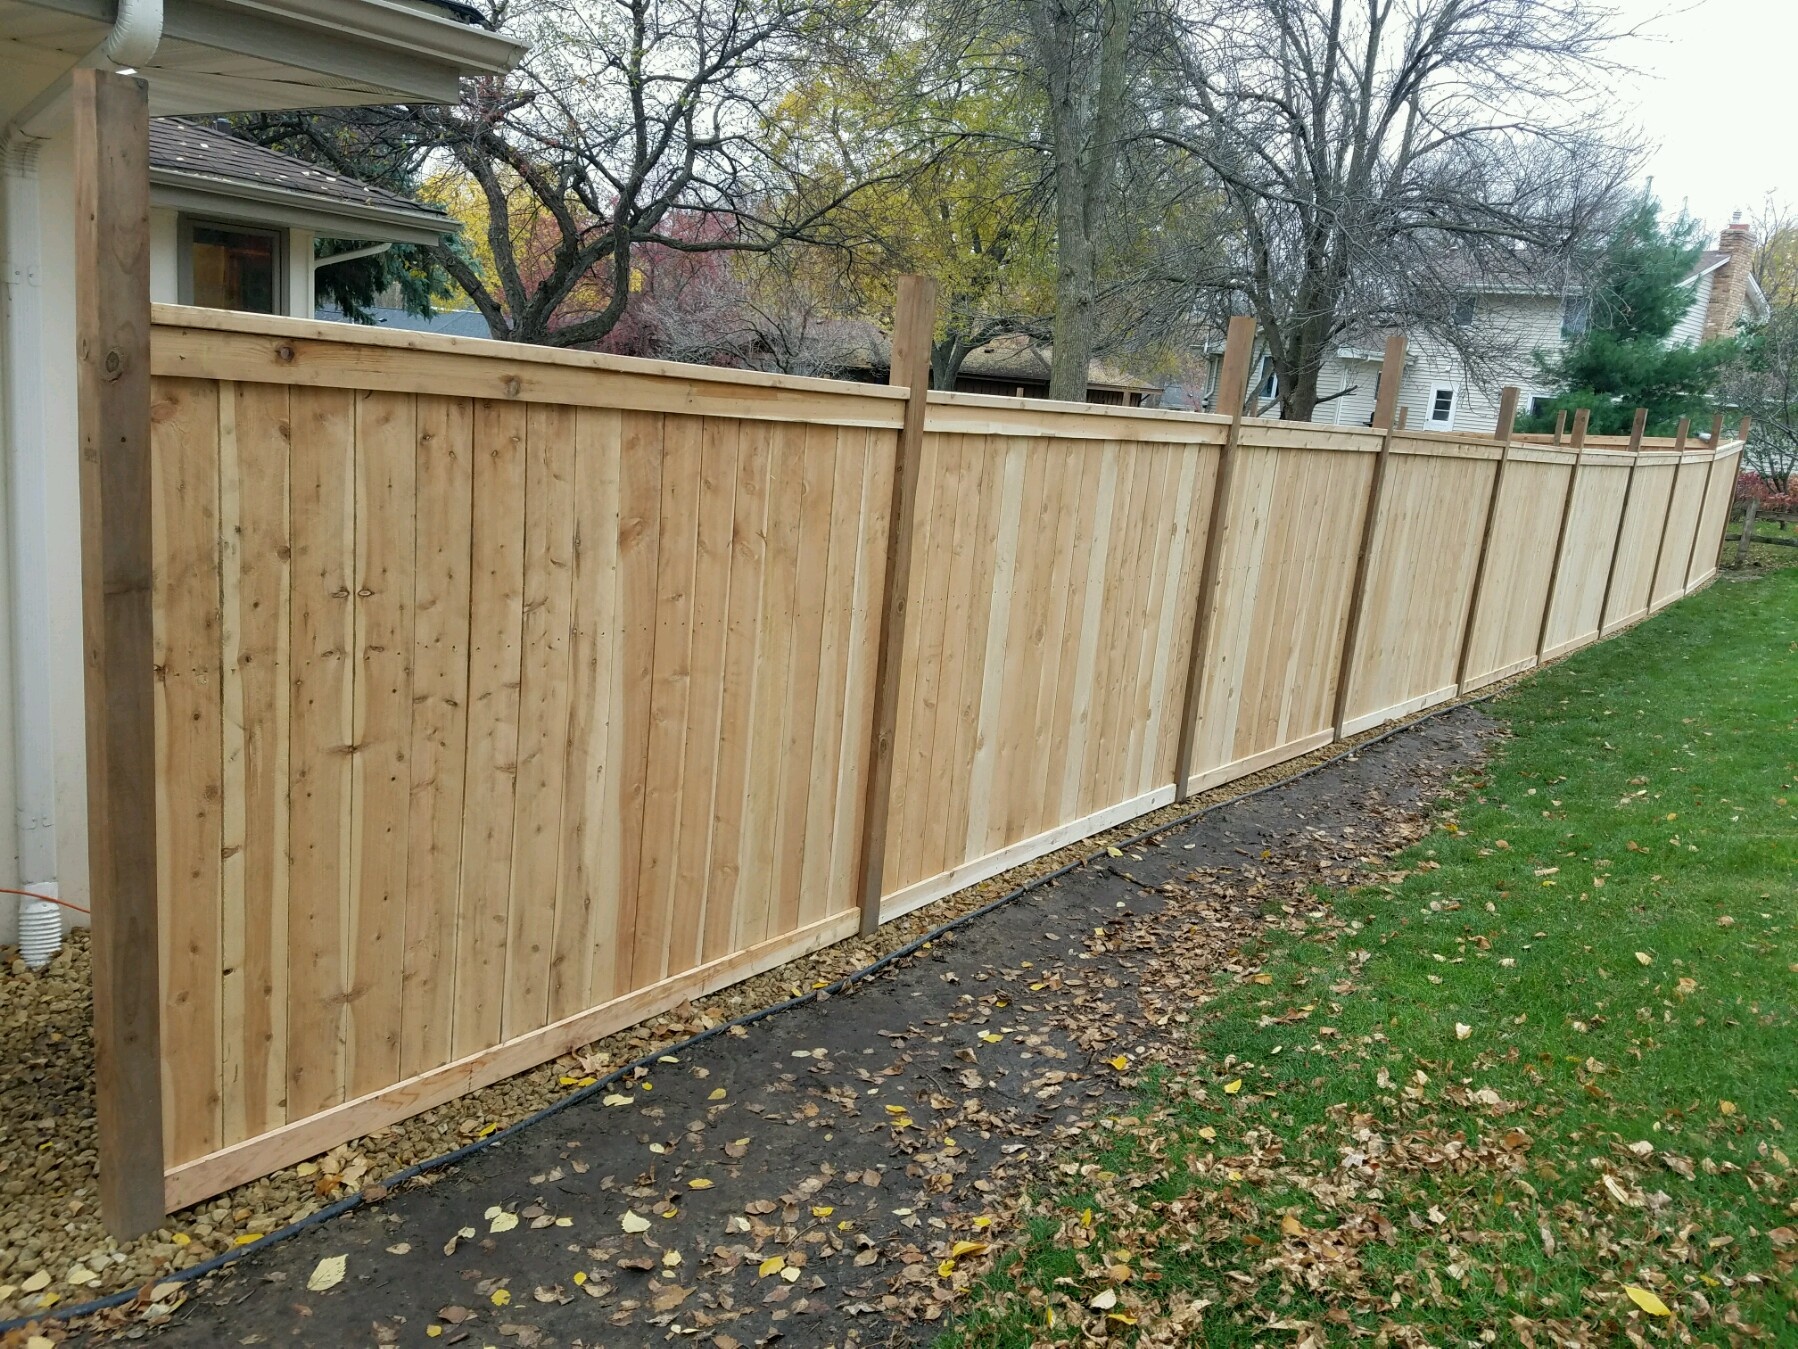

6 Foot Privacy Fence Post Hole Depth: The Definitive Guide
Are you planning a 6-foot privacy fence and unsure how deep to dig your post holes? Getting the 6 foot privacy fence post hole depth right is absolutely crucial for a sturdy, long-lasting fence that can withstand the elements. Too shallow, and your fence could lean or even topple over. Too deep, and you’re wasting time and concrete. This comprehensive guide will provide you with everything you need to know to determine the proper 6 foot privacy fence post hole depth, ensuring your fence stands tall for years to come.
This isn’t just another quick-read article. We’ll delve into the factors influencing post hole depth, including soil type, frost lines, wind conditions, and post material. We’ll also provide practical tips and expert advice based on years of experience building and maintaining fences. By the end of this guide, you’ll have the knowledge and confidence to tackle your fence project like a pro.
Understanding the Importance of Correct Post Hole Depth
The 6 foot privacy fence post hole depth is arguably the most critical aspect of fence construction. It directly impacts the stability and longevity of your fence. Think of your fence posts as the foundation of your privacy barrier. If the foundation is weak, the entire structure is compromised. Here’s why proper depth is essential:
* **Stability:** A deep post hole anchors the post firmly in the ground, preventing it from shifting or leaning due to wind, rain, or soil movement.
* **Wind Resistance:** Privacy fences, by their nature, create a large surface area that’s susceptible to wind pressure. Deeper posts provide the necessary resistance to withstand strong winds.
* **Frost Heave Prevention:** In colder climates, the ground freezes and thaws, causing the soil to expand and contract. This can push fence posts upwards, a phenomenon known as frost heave. Proper depth helps mitigate this effect.
* **Longevity:** A well-anchored fence is less likely to require frequent repairs or replacement, saving you time and money in the long run.
Conversely, incorrect post hole depth can lead to a host of problems:
* **Leaning Fence:** The most common issue is a fence that gradually leans over time, becoming an eyesore and compromising its privacy function.
* **Post Rot:** If the post isn’t properly set in concrete, moisture can accumulate around the base, leading to rot and decay.
* **Structural Failure:** In extreme cases, a poorly anchored fence can collapse entirely, posing a safety hazard.
The Golden Rule: The 1/3 Rule for Fence Post Depth
A widely accepted rule of thumb for determining 6 foot privacy fence post hole depth is the 1/3 rule. This means that the post should be buried at least one-third of its above-ground height. For a 6-foot fence, this translates to a minimum post hole depth of 2 feet. However, this is just a starting point. Several other factors can influence the ideal depth.
For a 6-foot fence, using an 8-foot post is common. This allows for the 2-foot burial depth according to the 1/3 rule.
Factors Influencing 6 Foot Privacy Fence Post Hole Depth
While the 1/3 rule provides a general guideline, it’s crucial to consider the following factors to determine the optimal 6 foot privacy fence post hole depth for your specific situation:
Soil Type
The type of soil you’re working with significantly impacts the holding power of the post. Different soil types offer varying levels of resistance:
* **Sandy Soil:** Sandy soil is loose and drains well but offers poor support. You’ll need to dig deeper post holes in sandy soil to achieve adequate stability. Consider increasing the depth by 6-12 inches compared to the 1/3 rule recommendation. Adding more concrete around the base of the post can also help.
* **Clay Soil:** Clay soil is dense and retains moisture, providing excellent support. You may be able to get away with slightly shallower post holes in clay soil, but proper drainage is essential to prevent water from pooling around the base of the post and causing rot. Ensure the bottom of the hole has gravel for drainage.
* **Loamy Soil:** Loamy soil is a mixture of sand, silt, and clay, offering a good balance of drainage and support. The 1/3 rule is generally suitable for loamy soil.
* **Rocky Soil:** Rocky soil can be challenging to dig in, but the rocks themselves can provide added support. However, ensure the rocks are stable and won’t shift over time. You may need to use a rock bar or other tools to break up large rocks.
Our experience shows that understanding your soil composition is key to preventing future fence issues. A simple soil test can provide valuable information about its composition and drainage properties.
Frost Line
The frost line is the maximum depth to which the ground freezes in your area during the winter. In regions with cold winters, it’s crucial to dig your post holes below the frost line to prevent frost heave. Contact your local building department or a local fencing contractor to determine the frost line depth in your area.
If the frost line is deeper than 2 feet (the minimum depth according to the 1/3 rule), you’ll need to dig your post holes to the frost line depth. This may significantly increase the amount of digging and concrete required, but it’s essential for preventing fence damage.
Wind Conditions
Areas prone to high winds require deeper post holes to provide adequate resistance. The greater the wind exposure, the deeper the posts need to be. Consider these factors:
* **Open Areas:** Fences in open fields or along coastlines are more exposed to wind than those in sheltered areas.
* **Windbreaks:** The presence of trees or buildings that act as windbreaks can reduce the wind load on your fence.
* **Fence Height:** Taller fences are more susceptible to wind damage than shorter fences.
If you live in a windy area, consider increasing the post hole depth by 6-12 inches beyond the 1/3 rule recommendation. You may also want to use thicker posts or add additional bracing to further strengthen the fence.
Post Material
The type of material used for your fence posts also influences the required post hole depth. Different materials have varying strength and resistance to rot and decay:
* **Wood Posts:** Wood posts are the most common and affordable option. However, they are susceptible to rot and insect damage, especially at the ground level. Pressure-treated wood is recommended for fence posts, as it’s more resistant to these issues. For 6-foot privacy fences, 4×4 or 6×6 pressure-treated posts are typically used. The size of the post doesn’t necessarily change the required depth, but the larger post will increase the overall strength of the fence.
* **Metal Posts:** Metal posts, such as steel or aluminum, are more durable and resistant to rot and insect damage than wood posts. They are also typically stronger, allowing for wider post spacing. Metal posts are a good option for high-wind areas or for fences that require extra strength. While the material is stronger, the 1/3 rule still applies.
* **Vinyl Posts:** Vinyl posts are low-maintenance and resistant to rot and insect damage. However, they are not as strong as wood or metal posts. Vinyl posts typically require internal reinforcement with wood or metal to provide adequate strength. The 1/3 rule is still generally applicable, but consult the manufacturer’s recommendations for specific depth requirements.
Fence Design
The design of your fence can also influence the required post hole depth. Solid privacy fences, which block wind completely, require deeper posts than open fences, which allow wind to pass through. The heavier the fence material, the deeper the posts should be. A solid board fence requires more support than a chain link fence.
Step-by-Step Guide to Digging Post Holes for a 6 Foot Privacy Fence
Now that you understand the factors influencing post hole depth, let’s walk through the process of digging the holes:
1. **Gather Your Tools:** You’ll need a post hole digger (manual or powered), a shovel, a measuring tape, a level, a tamper, and concrete mix.
2. **Mark the Post Locations:** Use a string line and stakes to mark the locations of your fence posts. Ensure the posts are evenly spaced and aligned.
3. **Dig the Holes:** Use the post hole digger to dig the holes to the required depth. The diameter of the hole should be about three times the width of the post (e.g., a 12-inch diameter hole for a 4×4 post). This allows for adequate concrete around the post.
4. **Add Gravel for Drainage:** Pour a layer of gravel (about 6 inches) into the bottom of each hole to improve drainage. This will help prevent water from pooling around the base of the post.
5. **Position the Posts:** Place the posts in the holes and use a level to ensure they are plumb (vertical). Brace the posts with temporary supports to keep them in place while the concrete sets.
6. **Pour the Concrete:** Mix the concrete according to the manufacturer’s instructions and pour it into the holes around the posts. Use a shovel or trowel to pack the concrete tightly and eliminate air pockets.
7. **Tamp the Concrete:** Use a tamper to compact the concrete and ensure it’s level with the surrounding ground. Slope the concrete slightly away from the post to encourage water runoff.
8. **Allow the Concrete to Cure:** Allow the concrete to cure for at least 24-48 hours before attaching the fence panels. This will ensure the posts are firmly anchored in the ground.
Choosing the Right Concrete Mix for Your Fence Posts
Selecting the appropriate concrete mix is crucial for ensuring the long-term stability of your fence posts. There are several types of concrete mixes available, each with its own strengths and weaknesses:
* **Quick-Setting Concrete:** This type of concrete sets rapidly, typically within 15-30 minutes. It’s ideal for projects where you need to quickly secure the posts in place. However, it’s more expensive than standard concrete mix.
* **Standard Concrete Mix:** This type of concrete sets more slowly, typically within 24-48 hours. It’s more affordable than quick-setting concrete and provides excellent strength and durability. This is the most commonly used type of concrete for fence posts.
* **High-Strength Concrete Mix:** This type of concrete is designed for projects that require maximum strength and durability. It’s more expensive than standard concrete mix but provides superior resistance to cracking and weathering. This may be beneficial in extremely windy areas.
For most fence projects, standard concrete mix is sufficient. However, if you need to quickly secure the posts in place, quick-setting concrete may be a better option. Always follow the manufacturer’s instructions for mixing and applying the concrete.
Maintaining Your Fence Posts for Longevity
Proper maintenance is essential for extending the life of your fence posts. Here are some tips for keeping your posts in good condition:
* **Inspect Regularly:** Inspect your fence posts regularly for signs of rot, insect damage, or leaning. Address any issues promptly to prevent further damage.
* **Treat Wood Posts:** Apply a wood preservative to wood posts every few years to protect them from rot and insect damage. This is especially important at the ground level, where moisture is most likely to accumulate.
* **Clear Vegetation:** Keep vegetation, such as grass and weeds, away from the base of the posts. This will help prevent moisture from being trapped around the posts and promote air circulation.
* **Repair Damage:** Repair any damage to the fence posts promptly. This includes cracks, splits, and loose nails or screws.
Product Spotlight: Post Protector – Extending the Life of Your Wood Posts
One product designed to significantly extend the life of wood fence posts is the Post Protector. This is a polyethylene sleeve that slides over the portion of the post that will be buried in the ground. It creates a barrier between the wood and the surrounding soil, preventing moisture and insects from coming into direct contact with the post. This dramatically reduces the risk of rot and decay, extending the lifespan of the post by many years.
**Key Features of Post Protector:**
1. **Physical Barrier:** The primary function is to create a physical barrier, preventing ground contact with the wood. This is crucial in preventing the most common cause of post failure.
2. **UV Protection:** The polyethylene material is UV-resistant, protecting the post from sun damage that can weaken the wood over time.
3. **Easy Installation:** The Post Protector is easy to install, simply sliding over the post before it’s placed in the hole. This adds minimal time to the fence installation process.
4. **Chemical Resistance:** The polyethylene is resistant to chemicals found in the soil, further protecting the wood from degradation.
5. **Increased Post Stability:** By preventing rot, the Post Protector helps maintain the structural integrity of the post, ensuring the fence remains stable for longer.
6. **Cost-Effective:** While there is an initial cost, the Post Protector can save money in the long run by reducing the need for post repairs or replacements.
7. **Environmentally Friendly:** By extending the life of the posts, the Post Protector reduces the need to harvest new wood, contributing to a more sustainable environment.
**Advantages of Using Post Protector:**
* **Extended Post Lifespan:** This is the primary benefit, significantly increasing the time before post replacement is necessary.
* **Reduced Maintenance:** By preventing rot, the need for regular inspections and treatments is reduced.
* **Enhanced Fence Stability:** The maintained integrity of the posts ensures a more stable and secure fence.
**Disadvantages of Using Post Protector:**
* **Initial Cost:** There is an added expense compared to simply burying the post directly in the ground.
* **Proper Sizing:** It’s crucial to select the correct size Post Protector for your posts. An improperly sized sleeve will not provide adequate protection.
* **Aesthetic Concerns:** Some may find the visible portion of the Post Protector above ground to be aesthetically unappealing, though it’s typically black and blends in well.
**Ideal User Profile:**
The Post Protector is ideal for homeowners who want to maximize the lifespan of their wood fences and minimize maintenance. It’s particularly beneficial in areas with high moisture levels or soil conditions that promote rot.
**Alternatives:**
* **Wood Preservatives:** Traditional wood preservatives can help protect posts from rot, but they require regular reapplication and may not be as effective as a physical barrier.
* **Concrete Collars:** Concrete collars can help protect the base of the post from moisture, but they don’t address the issue of rot below the ground level.
**Expert Verdict:**
The Post Protector is a highly effective product for extending the life of wood fence posts. While there is an initial cost, the long-term benefits in terms of reduced maintenance and increased fence lifespan make it a worthwhile investment. We highly recommend using Post Protectors, especially in environments conducive to wood rot.
Frequently Asked Questions (FAQ) About 6 Foot Privacy Fence Post Hole Depth
Here are some common questions about determining the correct 6 foot privacy fence post hole depth:
**Q1: What happens if I don’t dig deep enough post holes?**
A1: Insufficient post hole depth can lead to a leaning fence, reduced wind resistance, and premature failure of the fence. The fence may become unstable and require frequent repairs or even complete replacement.
**Q2: Can I use a smaller diameter post hole than recommended?**
A2: Using a smaller diameter post hole can make it difficult to properly compact the concrete around the post, reducing its stability. It also limits the amount of concrete that can be used, further weakening the anchor.
**Q3: Is it better to use more concrete than less?**
A3: Yes, using more concrete can generally improve the stability of the post, especially in sandy or loose soil. However, it’s important to ensure the concrete is properly compacted and sloped away from the post to prevent water accumulation.
**Q4: How do I determine the frost line depth in my area?**
A4: Contact your local building department or a local fencing contractor. They will have access to the frost line data for your specific location.
**Q5: Can I use gravel instead of concrete to set my fence posts?**
A5: While gravel can provide some support, it’s not as effective as concrete in anchoring the posts and preventing movement. Concrete is highly recommended for long-term stability, especially for privacy fences that are subject to wind loads.
**Q6: What type of wood is best for fence posts?**
A6: Pressure-treated wood is the best option for fence posts, as it’s resistant to rot and insect damage. Cedar and redwood are also good choices, but they are more expensive.
**Q7: How far apart should I space my fence posts?**
A7: The spacing between fence posts typically ranges from 6 to 8 feet, depending on the fence design and the strength of the materials. Consult local building codes for specific requirements.
**Q8: Do I need a permit to build a fence?**
A8: Many municipalities require permits for fence construction. Contact your local building department to determine the permit requirements in your area.
**Q9: How do I prevent my fence posts from rotting at the ground level?**
A9: Use pressure-treated wood, ensure proper drainage around the base of the posts, and apply a wood preservative every few years. Consider using Post Protectors to further extend the life of the posts.
**Q10: What’s the best way to ensure my fence posts are perfectly plumb?**
A10: Use a level to check the posts from multiple angles. Brace the posts with temporary supports to keep them in place while the concrete sets. Recheck the level periodically to ensure the posts haven’t shifted.
Conclusion: Building a Privacy Fence That Lasts
Determining the correct 6 foot privacy fence post hole depth is paramount for creating a fence that provides privacy, security, and aesthetic appeal for years to come. By carefully considering the factors discussed in this guide, including soil type, frost line, wind conditions, and post material, you can ensure your fence is built on a solid foundation. Remember to follow the 1/3 rule as a starting point, but adjust the depth as needed based on your specific circumstances. With proper planning and execution, you can build a privacy fence that will enhance your property and provide lasting enjoyment. We’ve found that taking the time to do it right the first time saves significant time and money in the long run.
Now that you’re armed with this knowledge, we encourage you to share your own experiences with 6 foot privacy fence post hole depth in the comments below. Have you encountered any unique challenges or found any helpful tips that weren’t covered in this guide? Your insights can help other homeowners build their own successful privacy fences. For more advanced guidance on fence construction techniques and materials, explore our comprehensive fencing guide, or contact our team of experts for a personalized consultation on your 6 foot privacy fence post hole depth needs.
